Mastering Eyeliner Application: Tips for Perfecting Your Look
Nailing the perfect eyeliner look is often trickier than it seems, especially when aiming for symmetrical wings or lines.
However, with a steady hand and the right techniques, anyone can transform their eyeliner game from shaky to stunning, creating eyes that truly pop.
Selecting the Right Eyeliner
Diving into the world of eyeliners can feel like exploring a forest with all sorts of paths—each one leading to a different look. Pencil eyeliners are super user-friendly and fantastic for beginners, while liquid eyeliners offer that sharp, striking line that’s perfect for dramatic ‘cat eyes.’ For a softer, smudged vibe, try a gel or cream eyeliner with an angled brush. Oh, and let’s not forget felt-tip liners, which are like the cool markers of the makeup world, giving you control and precision without needing a super steady hand. Always consider your comfort level and the style you want to rock when picking your liner partner-in-crime.
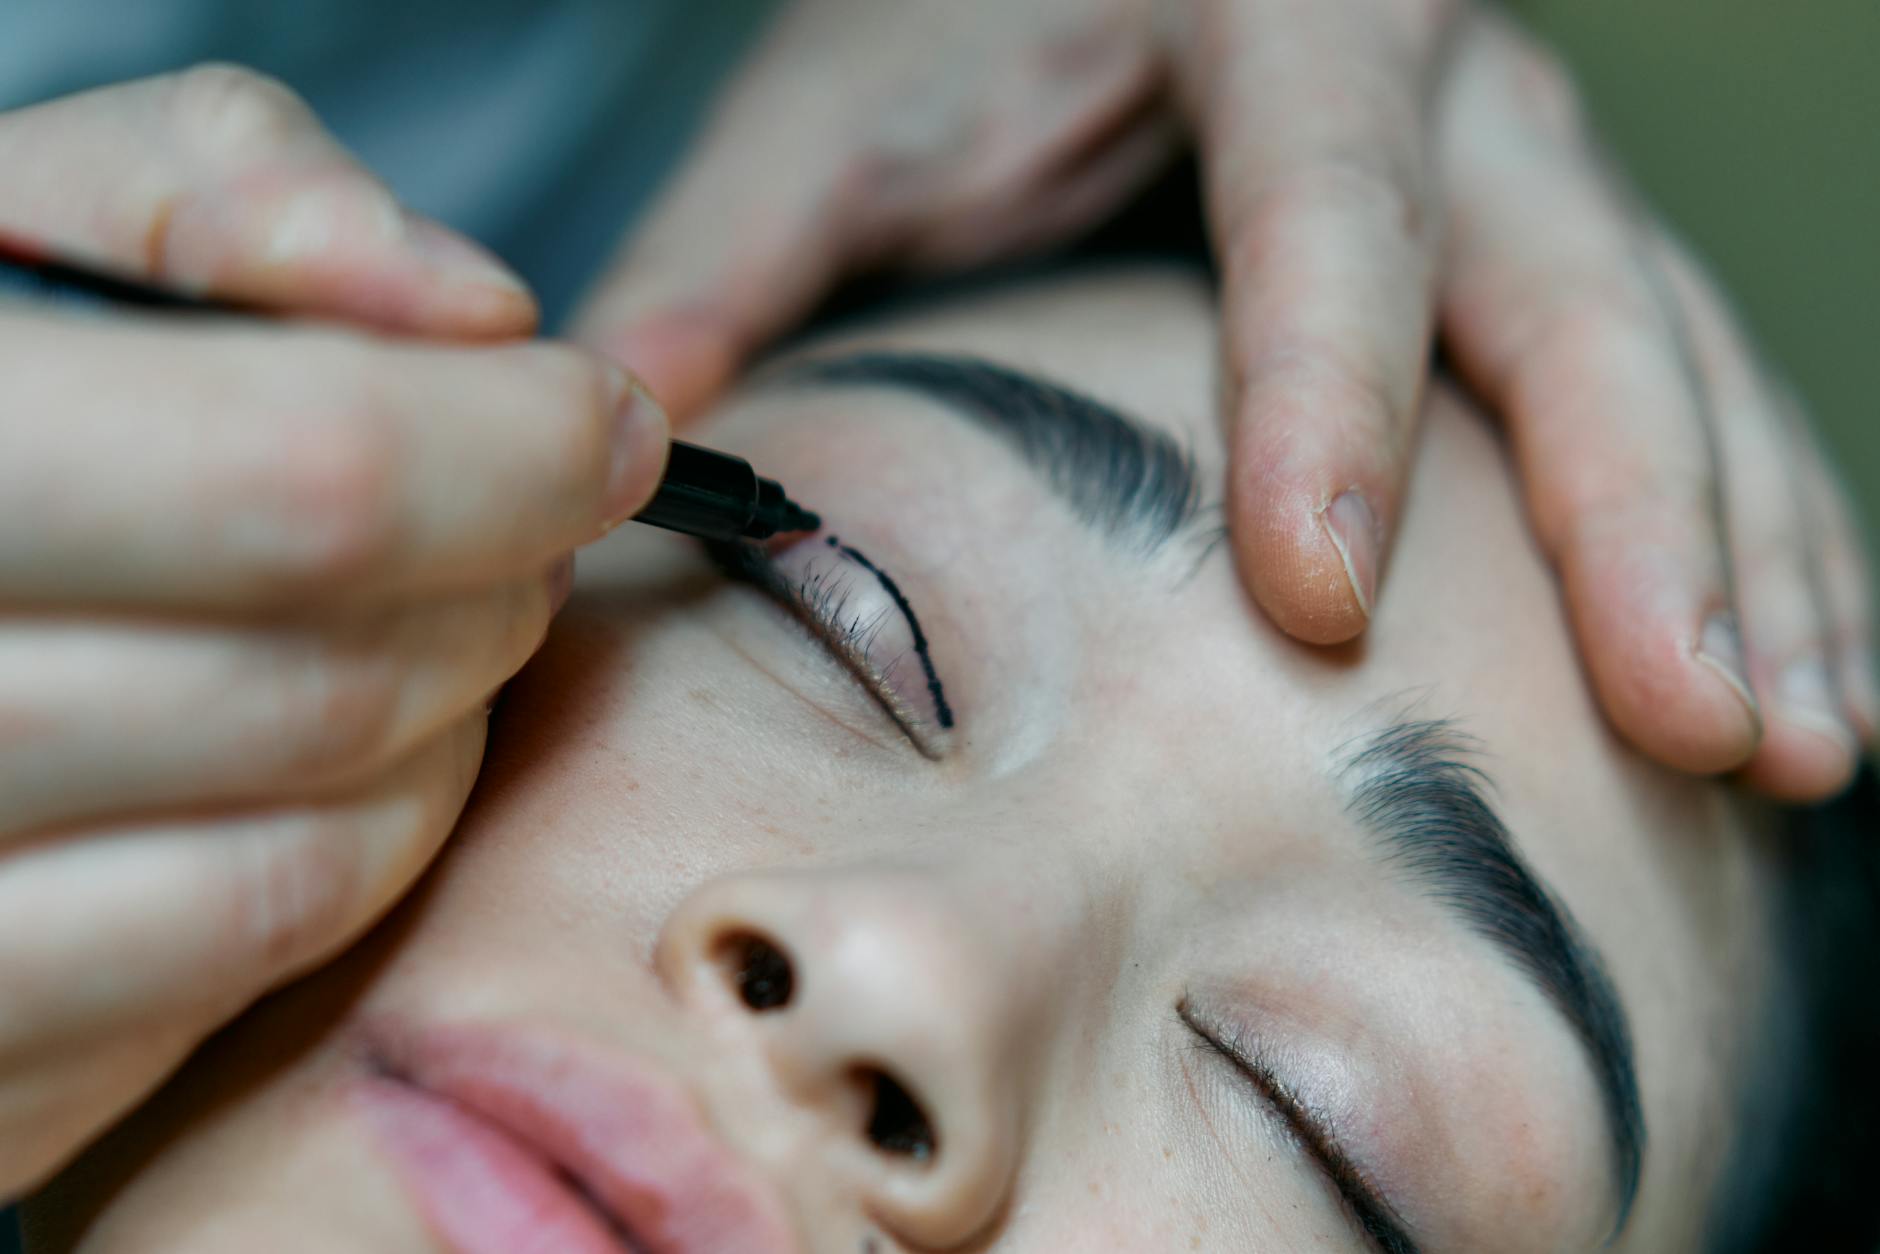
Pencil vs. Liquid vs. Gel
Pencil eyeliners are like friendly sketching tools—they’re forgiving and perfect for a gentle, natural look.
Gel liners glide on with ease, offering the versatility to create both sharp and soft lines with rich pigmentation.
Liquid eyeliners require a steady hand but reward you with crisp lines and enduring flair, ideal for making bold statements.
Mastering gel liners takes practice but offers the best of both worlds—a balance between precision and blendability for smoky or defined eyes.
Color and Texture Choices
Selecting the right eyeliner color can transform your look from subtle to striking. Classic black and brown are wardrobe staples that pair well with any eye color, enhancing your natural beauty and offering a timelessly elegant look. However, pushing the envelope with vibrant hues can be an adventurous expression of your personal style.
Colors like navy blue, rich plum, or hunter green can make your eyes pop, especially if you’re looking to complement your eye color or outfit. Metallic shades, such as gold or bronze, add a sprinkle of glam, great for those evenings when you want to stand out. Remember that the ultimate goal is to choose a shade that elevates your look and fits the occasion.
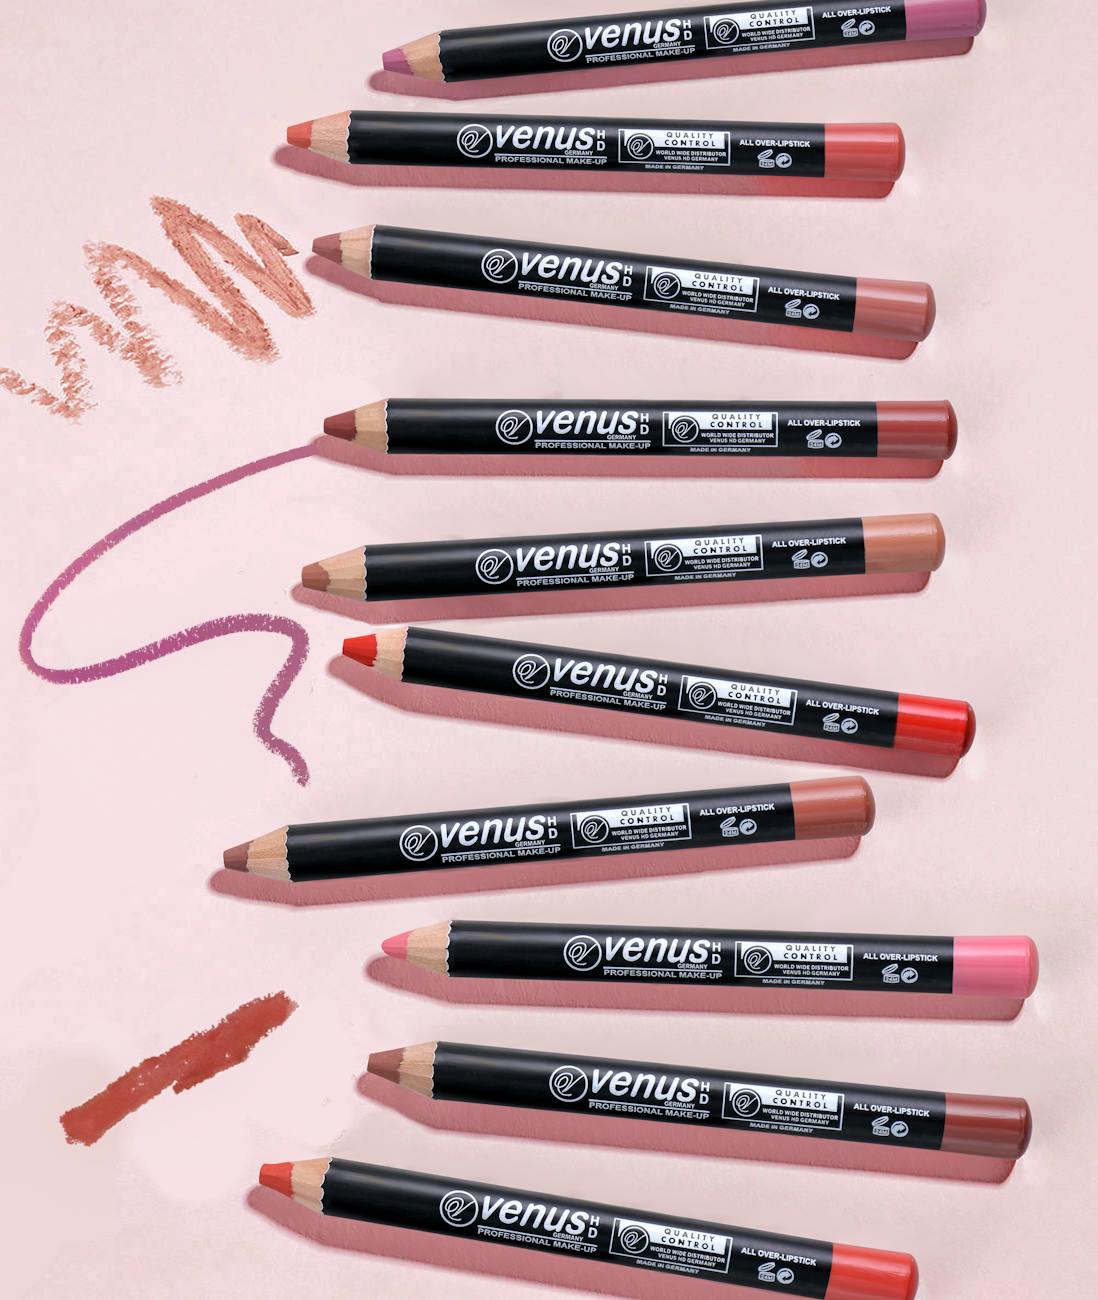
Textures also play a pivotal role in the outcome of your eye makeup. Matte eyeliners give a more subdued, sophisticated effect, while shimmer or glitter liners catch light to create a sense of dimension and fun. It’s important to match the texture to your overall makeup look; a matte finish can ground a bold eyeshadow, while a touch of glitter might be perfect for a festive event.
When considering texture, think about the staying power and potential for smudging. A glossy, liquid liner has a tendency to stay put once it dries, ideal for long-wear needs. In contrast, a softer pencil can be smudged for a sultry, smoky look but may need an occasional touch-up to maintain its allure over time.
Experiment with both color and texture to find your signature style. At times, a thin, crisp line may be all you need, while other times, a thicker, smudged line with a flash of color becomes the show-stopper. The key is to be creative and have the confidence to try new things.
Essential Preparation Steps
Before diving into the artistic world of eyeliner application, take a moment to gather your tools. Just like a painter prepares their canvas, your skin must be primed. Start by cleaning your eyelid area to remove oils and dirt, which helps your eyeliner glide on smoothly and stay put.
The next step is to lay down a solid base. Use an eyeshadow primer or a dab of concealer on your lids to create an even surface. This not only helps to prevent your eyeliner from smudging throughout the day but also makes its color pop. Once your lids are prepped, you’re ready to go from bland to glam with your eyeliner skills.
Priming Your Eyelids
Priming your eyelids is like giving your eye makeup a battle shield, protecting it from the oils that can make it smudge. It’s crucial, like putting on your armor before you head into combat, to apply a base that keeps everything in place. Without this step, your eyeliner might just decide to slide right off your lids and ruin the amazing look you’re going for.
They say a great artist always preps their canvas. For your eyelids, that’s your skin! A smooth, oil-free surface is what you’re seeking.
Think of primer like a magic glue. It grabs onto the eyeliner and refuses to let go. Without a good primer, eyeliner can fade, smudge, or disappear like a shy ghost.

One smooth base coming right up! That’s the promise of a good eyelash primer—it creates an even layer that helps the eyeliner stick like your best friend in a game of tag.
Remember to let the primer set. Just like waiting for paint to dry, you need to give it a brief moment. That way, your eyeliner goes on top of a perfectly primed surface, ready for whatever style you’ve decided to rock today.
And finally, when it’s time to lay down those lines, your primer’s already worked it’s behind-the-scenes magic. So go ahead and draw on that swoop or flick with the confidence that your look will stay sharp and fresh all day long.
The Importance of a Steady Hand
Imagine you’re drawing the perfect circle—no wobbles, just smooth curves. That’s like applying eyeliner.
- Rest your elbow on a solid surface.
- Tilt your head back slightly.
- Use your other hand to gently pull your eyelid taut.
- Take short breaks if your hand starts to shake.
No jerky movements, just cool composure and control as you glide the eyeliner.
With a steady hand, your eyeliner swoop will be sharp, not a squiggly line in a doodle.

Eyeliner Techniques Simplified
Ready your tools like an artist preps brushes. Eyeliner magic begins with the right gear. The sharpness of a pencil or the fluidity of a liquid liner sets the stage for your eye masterpiece.
Now, imagine the ease of a marker—yes, that’s liquid liner. It delivers boldness with a simple gesture. Similarly, a pencil glides softly, offering subtle accents or smoky vibes. Like drawing, let your hand flow, yet with purpose, guiding the liner to where your creative vision leads.
Finally, remember with pencils, smudging is an ally. Embrace it for a sultry, diffused look. It’s like a painter blending colors on a canvas to create something ethereal and expressive.
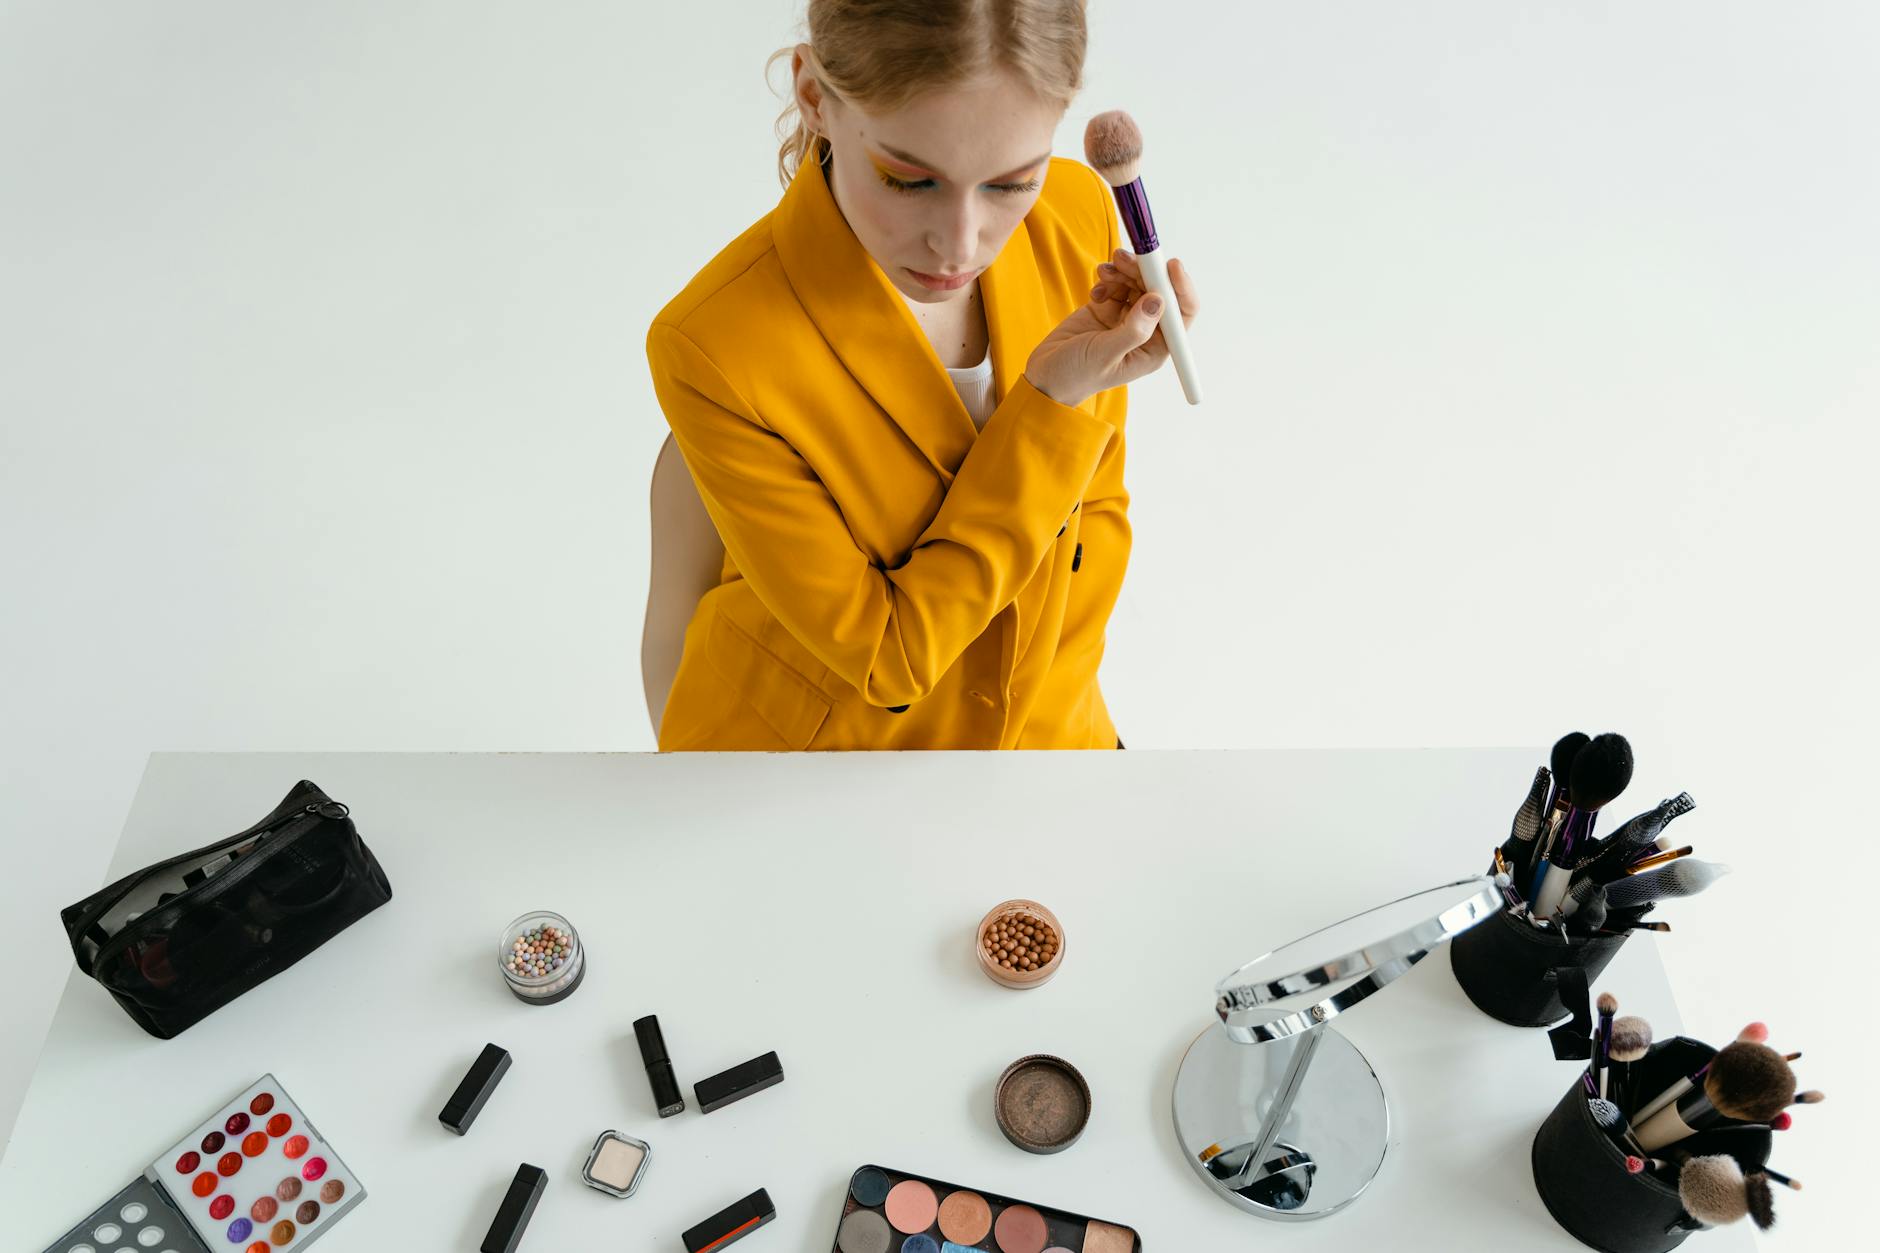
Perfecting the Classic Wing
Aim for symmetry, because the classic wing is all about balance. Start with small strokes to sketch out your wing.
For precision, tilt your head back slightly and use your non-dominant hand to gently stretch the eyelid. This will create a smooth canvas. Think of your eyeliner as a calligraphy pen; it takes a delicate touch. Subtly build the thickness as you angle towards the end of your brow. The wing should flick with confidence, sharp but not overdone.
Remember, the wing’s curve is crucial, it should softly rise and fall, tracing your eye’s natural shape. If you make a bumpy line, take a tiny makeup brush dipped in eye makeup remover to carefully erase mistakes. This editing technique is like using an eraser on a pencil sketch, refining the lines to perfection.
Lastly, the wing’s point is key—it’s the dramatic endnote of your look. Keep it sharp and uplifted, ensuring it doesn’t droop. If your hand wobbles, anchor your elbow on a flat surface. Practice makes perfect, and patience is your friend. Create that sleek, elegant line, and watch your classic wing soar.
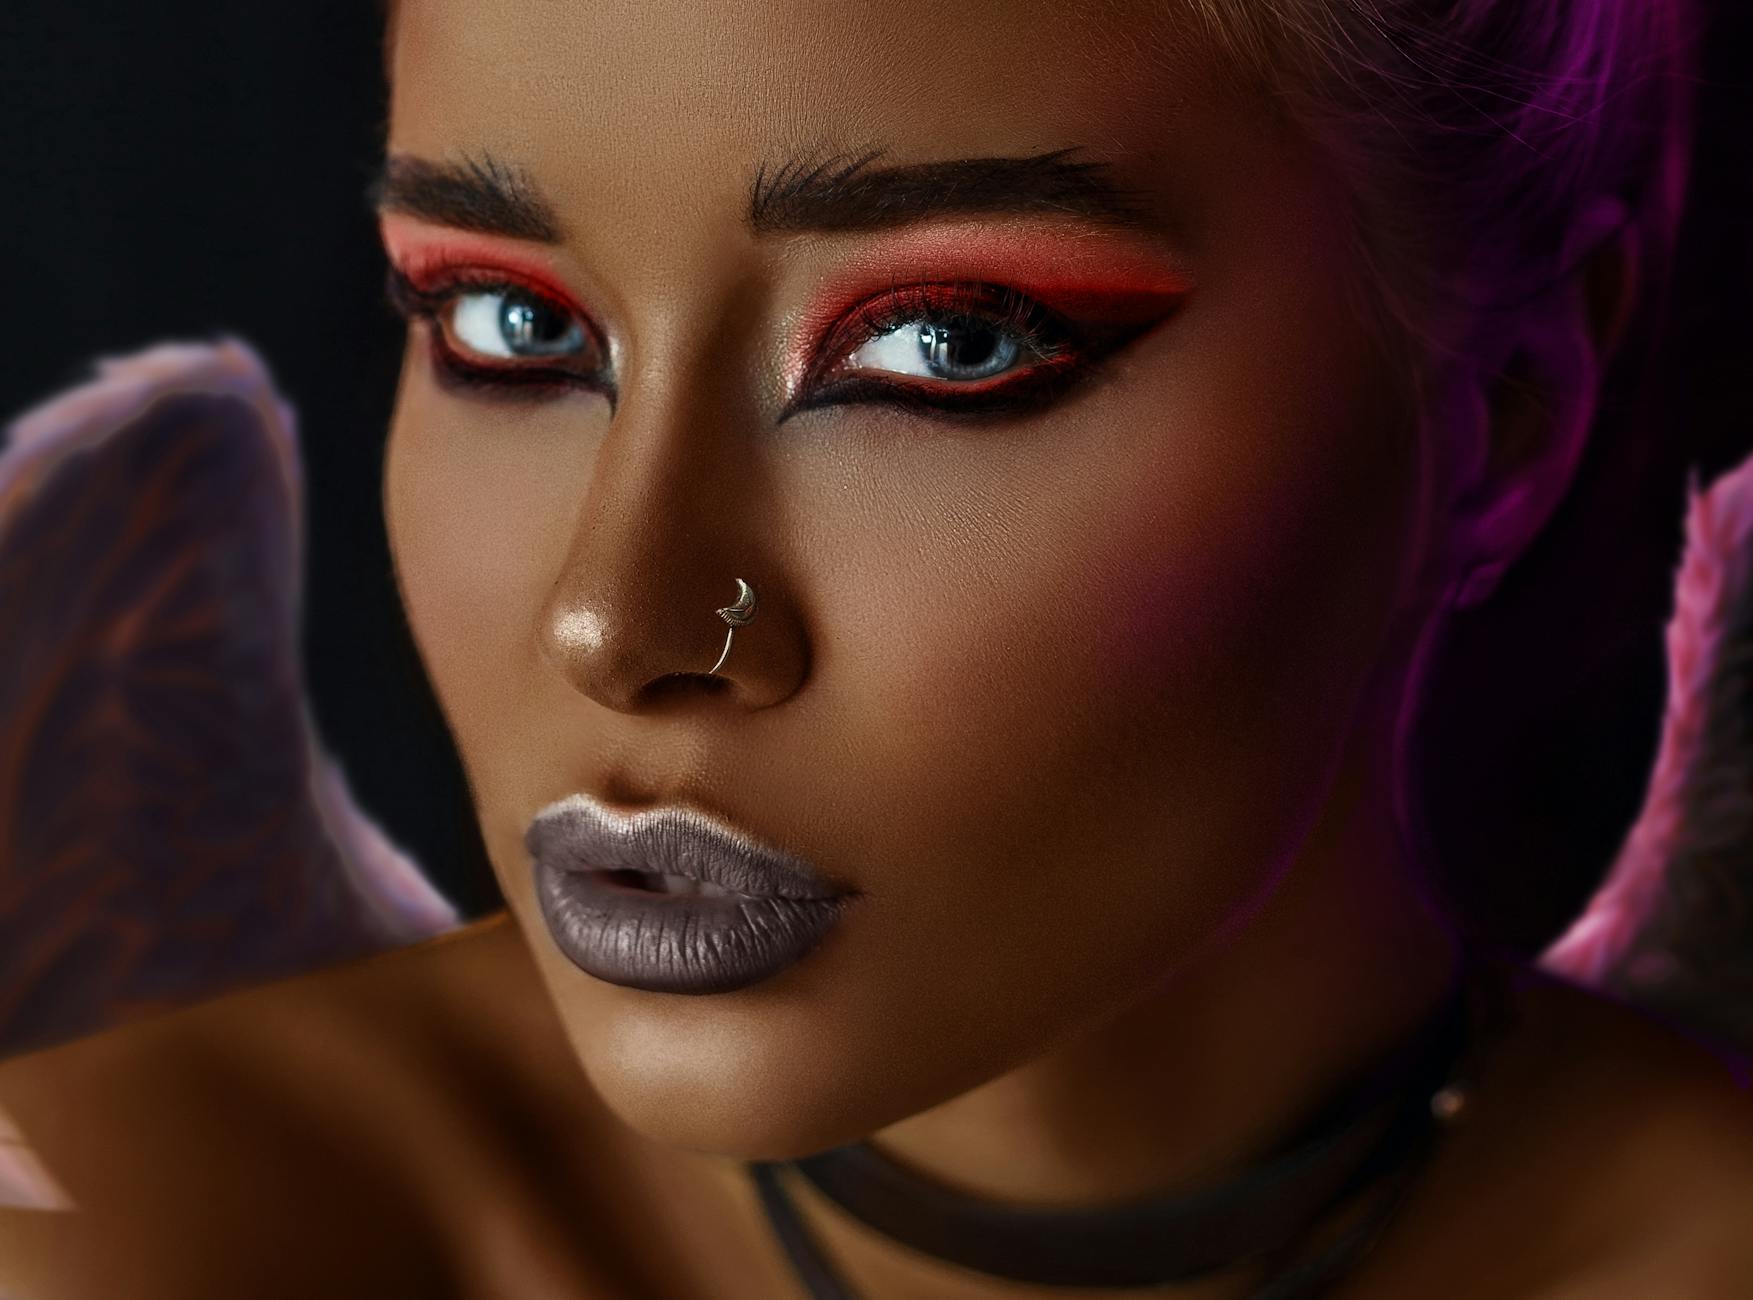
Tightlining for Subtle Definition
Tightlining might sound like a circus skill, but in the makeup world, it’s about subtlety. It’s the act of lining the upper waterline to enhance your lashes without obvious lines.
To start, select a waterproof eyeliner to ensure that your secret definition stays put. Gently lift your upper eyelid to expose the waterline—that’s the area just above your eyelashes. Use short, connected strokes to fill in gaps between lashes, creating that elusive fullness. This technique doesn’t scream “eyeliner,” but whispers “effortless beauty.”
Now, it’s not all about going full-on invisible. Tightlining can play well with other eyeliner methods, layering for a more defined look. It lays the groundwork, providing that “I woke up like this” lash thickness, while you can still build up more drama on the skin part above the lashes.
Lastly, tightlining can also be your eyeliner’s secret ally. While it subtly boosts lash volume, it sets the scene for more expressive styles if you choose to add them on top. It’s like the unseen foundation of a skyscraper—it’s not visible, but it makes everything else look better. So, when you want a natural look or a refined canvas for bolder statements, tightlining is the hush-hush hero of eyeliners.
Troubleshooting Common Problems
Even with practice, eyeliner can sometimes make you feel like you’re trying to draw a straight line during an earthquake! If your liner looks more like a zigzag than a sleek cat-eye, don’t stress. Smudges happen, even to seasoned pros. The trick is to have cotton swabs and makeup remover handy for quick fixes. When your wings don’t match, approach it like a mini art project—remove the odd bits and sketch it again. Remember, a little smudge or asymmetry is just a chance to refine your artistry, so keep calm and eyeliner on!
Correcting Uneven Lines
Nobody’s perfect, and neither are eyeliner applications. Sometimes, our hands shake, and we end up with wobbly, uneven lines. Don’t worry! It’s not the end of the world; with a few quick tricks, you can even out those lines and perfect your look. Keep a steady hand, and let’s tackle those pesky uneven lines together.
Oh no, one side’s thicker than the other! That’s easy to fix.
First, don’t freak out if they don’t match. Breathe and find your trusty concealer or makeup remover.
Applying more liner to the thinner side could even things out, or you might make it worse—be careful!
Sometimes, the key to symmetry is subtraction, not addition. Remove excess liner carefully from the thicker side using a precise-tip makeup remover pen or a dipped Q-tip.
If all else fails, remember eyeliner isn’t permanent. Wipe it off, take a break, and try again with a fresh outlook.
Stay focused and patient; everyone has the potential to master those sharp, even lines with practice and persistence. Strive for progress, not perfection, and soon enough, those uneven lines will be a thing of the past.
Preventing Smudging and Fading
First up, lock in your eyeliner with a primer. Like a superhero’s shield, it guards your artful lines against the evil villains of smudge and fade.
What’s next? Choose a waterproof eyeliner. These trusty liners laugh in the face of moisture, which is often the sneakiest smudge-culprit. And they stick around longer, too.
Pat on some eyeshadow over your liner. Think of it as setting your liner with a cozy blanket. The powder helps to absorb oils that can make eyeliner slip-slide away.
Tick tock, give it time to dry. Rushing can lead to smearing, so chill out for a minute. Exercise a little patience, and you’ll be rewarded with smudge-free perfection.
Finally, avoid rubbing your eyes. It’s tempting, but your designs are masterpieces! Treat them with care, just like a painting in a museum.
